It’s my turn
to share a Project of the Week at The House that Stamps Built and I am going to
show you how to make a new kind of center stair step card. Many of us have made
center stair step cards and they are available here on the Repeat Impression’s
website ready made for you. I discovered
a new kind of center step card on a website recently and wanted to try making
one, but the directions were not in English and the measurements were in
centimeters. I created my own template with easy measurements (inches and half
inches) and here is how you can make one too:
Cut card
base 5” by 7 ¼” to make an A2 sized card when completed and folded. On back of
piece, mark 1”, 2”, 3” and 4” on both shorter sides of card. (These marks are
later erased.)
We are
working on the BACK of the card so everything is opposite of what the front
will look like. The picture below shows what it should look like from the back.
From the
BOTTOM LEFT, draw pencil lines from:
1 ½” to 3 ½” on the ONE inch line
2” to 4” on the TWO inch line
2 ½” to 4 ½” on the THREE inch line
3” to 5” on the FOUR inch line (see picture)
Cut these
lines with ruler, utility knife and cutting surface.
From bottom
left, SCORE DOWN from each inch line at:
1 ½” and 3” (not necessarily the end of the cut line, so
pay attention to the measurements for each line to score.)
2” and 3 ½”
2 ½” and 4”
3” and 4 ½”
3 ½” and 5”
Turn card
over and Mountain Fold the first scored lines and Valley Fold the 2nd
(or furthest right of the score lines) to form stairs. Erase your
marks and decorate as desired. I followed these instructions and created a kraft
patterned and a blue card base.
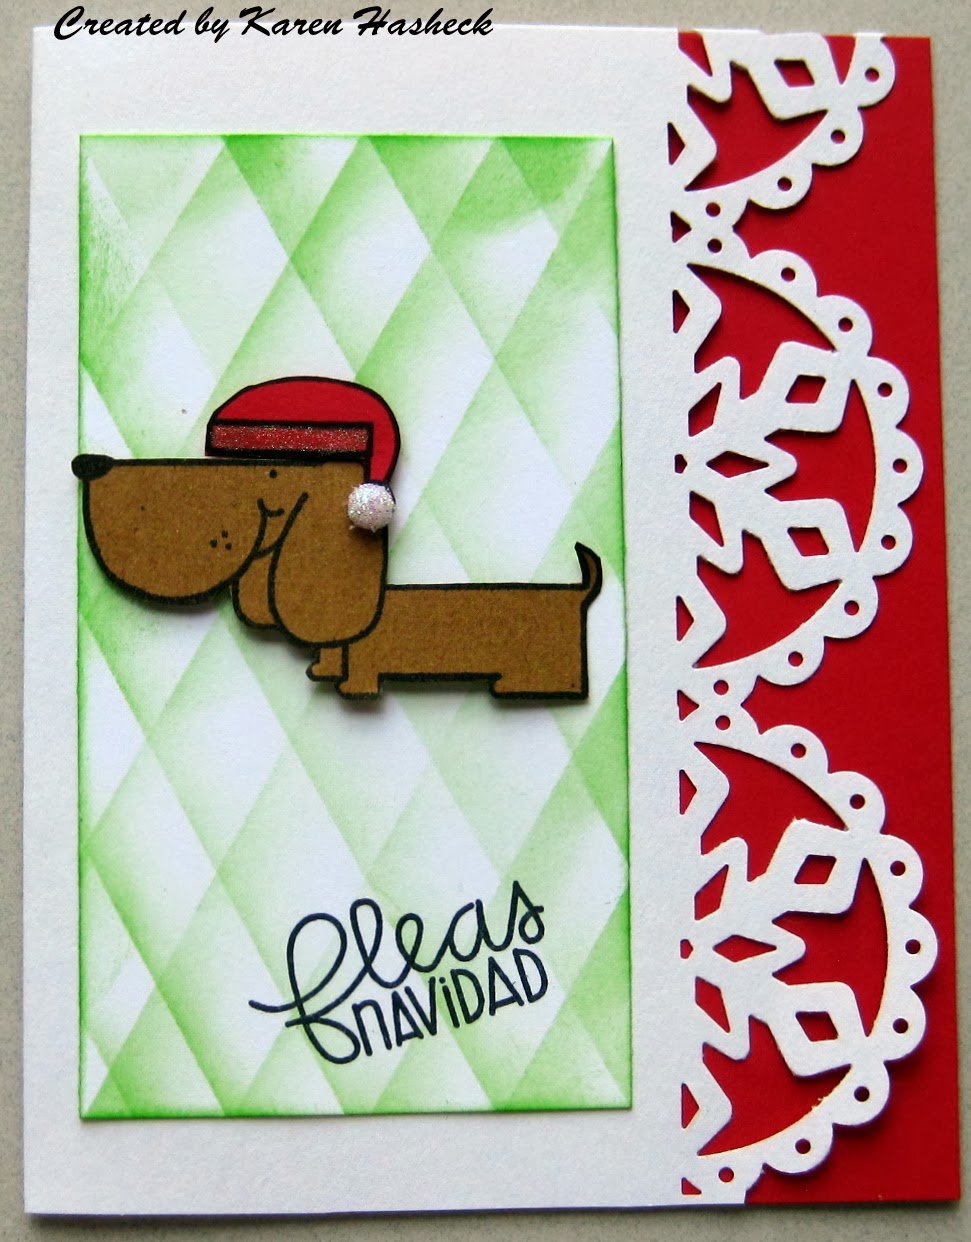
For my first
sample shown above, I sponged all the sides and the stairs with a brown
distress ink. I paper pieced the Christmas kitty and hung her from the stairs.
Then I stamped and attached a beautiful Christmas sentiment from Repeat
Impressions.
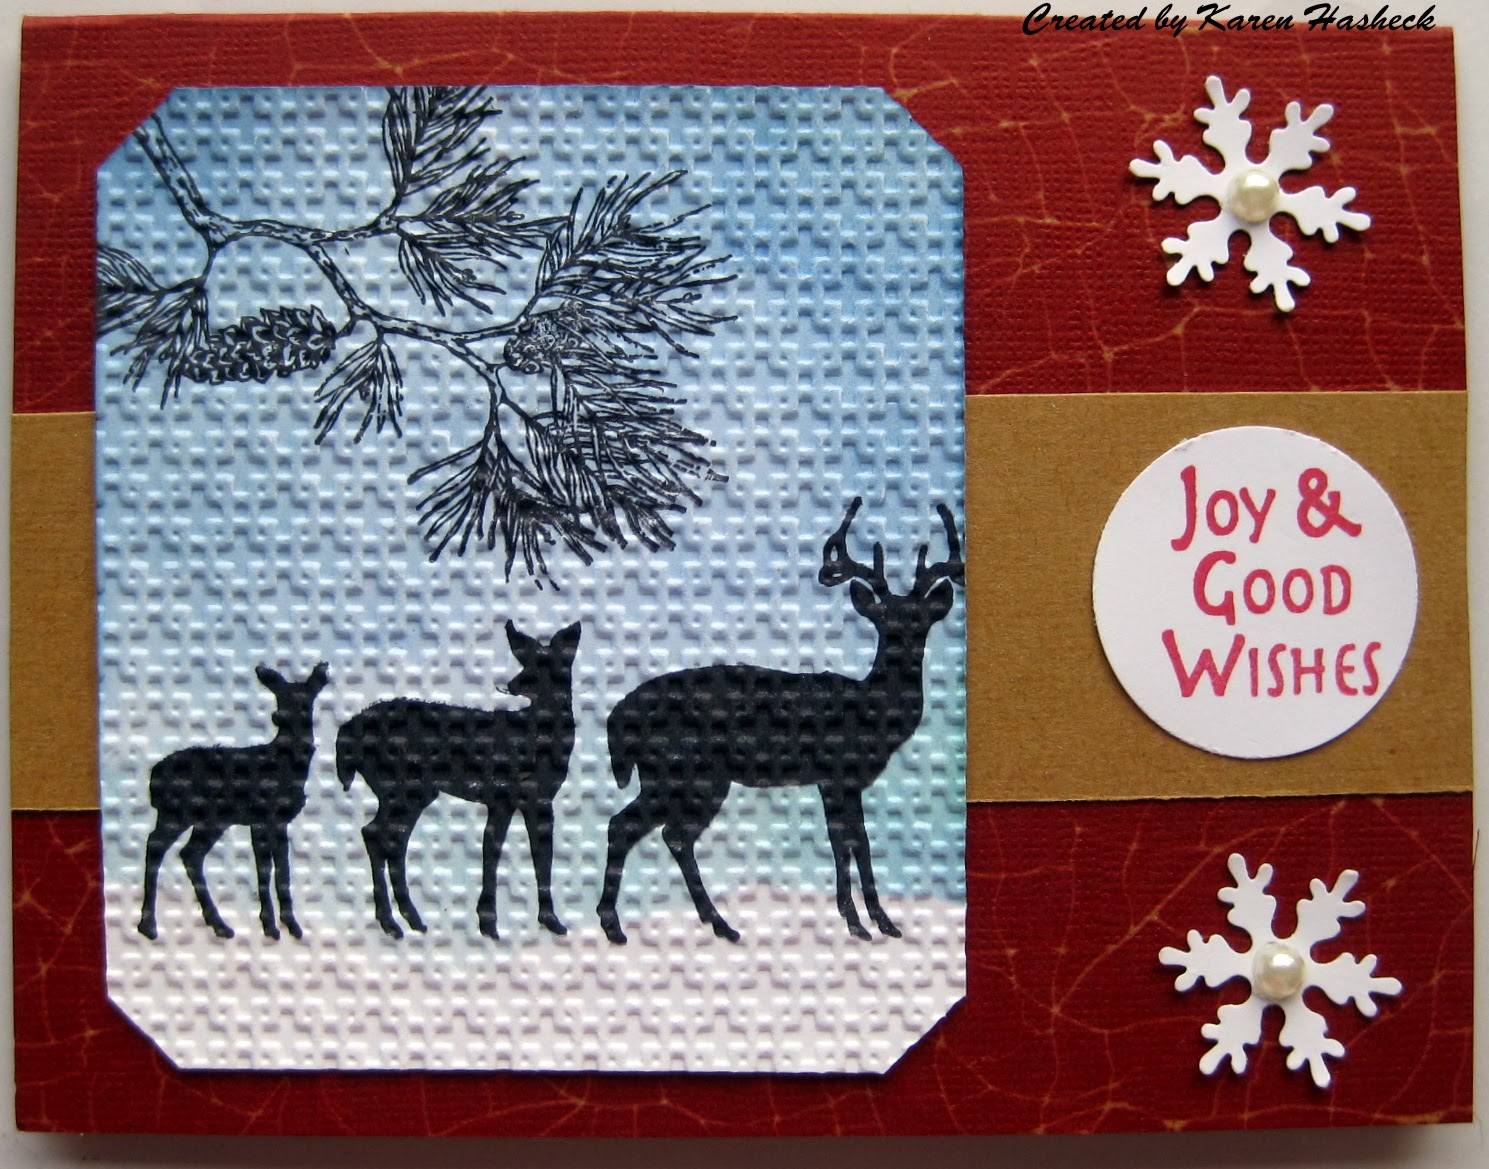
My second
center stair step card shows how you can decorate the stairs to make the card
even more fun. To start this sample, I embossed the blue card base with a
snowflake embossing folder. Then I stamped the Snowball Sequence set of snowmen
tumbling down and attached to each stair. I added some punched snowflakes and
another beautiful holiday sentiment (from Repeat Impressions, of course.) The
cards lay flat to mail and fit into an A2 sized envelope. Here is a picture of
the blue card closed.
I hope you
try this fun folding card sometime soon, and that your holiday season is
blessed with peace and joy.
Stamping
smiles, Karen